
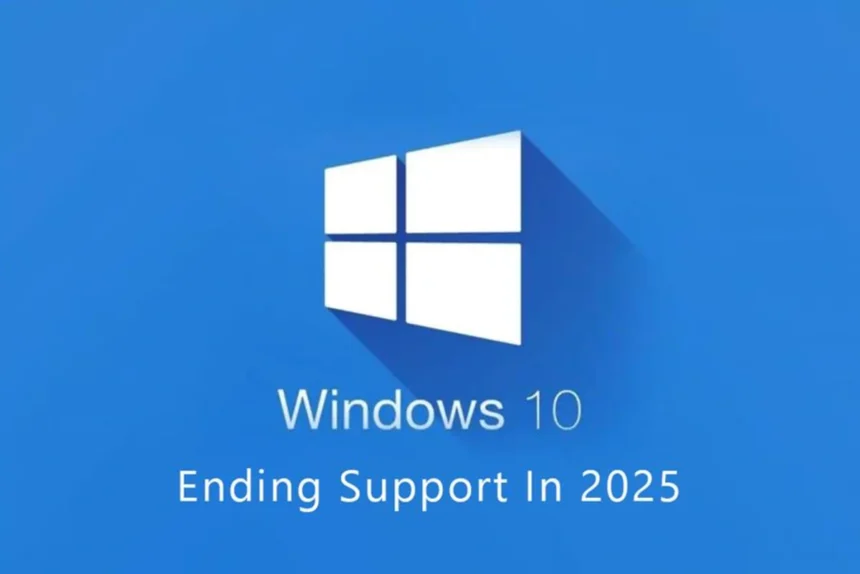
Microsoft is officially ending support for Windows 10 on October 14, 2025, marking the end of an era for one of the company most popular operating systems. After this date, Windows 10 devices will no longer receive security updates, bug fixes, or feature improvements, leaving them vulnerable to potential security risks.
If you’re still using Windows 10, the good news is that you can upgrade to Windows 11 for free — provided your computer meets the minimum hardware requirements. Even if your system doesn’t qualify officially, there are alternative methods to install Windows 11 safely.
Here’s a step-by-step guide on how to check compatibility and upgrade.

Check Your PC Compatibility
Before upgrading, make sure your device supports Windows 11. The new OS has stricter system requirements than Windows 10, including:
- TPM 2.0 (Trusted Platform Module)
- Secure Boot enabled in BIOS
- A supported 64-bit processor
Older PCs may struggle with these hardware checks, especially the TPM 2.0 requirement.
To verify eligibility:
- Download Microsoft PC Health Check tool from the official support page.
- Run the app and click “Check now.”
- If your PC meets all criteria, the tool will confirm that it’s ready for Windows 11.
If not, you can still upgrade using alternative methods (explained below).

Upgrade via Windows Update
The simplest way to upgrade is through Windows Update:
- Go to Settings → Update & Security → Windows Update.
- Click Check for updates.
- If Windows 11 is available for your device, select Download and install.
Once downloaded, follow the on-screen prompts. Your files and apps will remain intact.
Use the Windows 11 Installation Assistant
If Windows Update doesn’t show the upgrade, you can use the Windows 11 Installation Assistant:
- Visit Microsoft official Download Windows 11 page.
- Click Download now under the Installation Assistant section.
- Run the downloaded file and select Accept and install.
The assistant will upgrade your PC in the background. After installation, restart your system to finalize the setup.
Create Installation Media (For Multiple Devices)
If you want to update multiple PCs or perform a clean install, use the Media Creation Tool:
- Download it from Microsoft Windows 11 page.
- Accept the license terms and select your preferred edition.
- Choose whether to create a bootable USB drive (minimum 8GB) or save an ISO file.
- Run setup.exe from the media or ISO file.
You can choose to keep personal files and apps, or perform a fresh install.
Install on Unsupported PCs (Bypass TPM and Secure Boot)
For older computers that don’t meet Windows 11 requirements, you can still upgrade using Rufus, a trusted third-party tool.
Steps:
- Create a Windows 11 ISO file using the Media Creation Tool.
- Insert an 8GB USB drive and open Rufus.
- Select the ISO file, choose Standard Windows installation, and ensure your USB is selected.
- Check the boxes to bypass TPM, Secure Boot, and RAM checks.
- Click Start and wait for the bootable drive to be ready.
- Boot your PC using the USB and follow the installation steps.
This method allows you to install Windows 11 and retain your files and apps — even on unsupported systems.
What Happens After the Upgrade
Once installed, Windows 11 brings a modern design, enhanced multitasking, better gaming performance, and built-in AI tools like Copilot. Microsoft also guarantees security updates and support until at least 2031, making it a safe long-term choice.
If your PC is too old to handle the upgrade, Microsoft recommends buying a new Windows 11-ready device for the best performance and compatibility.
The Bottom Line
With Windows 10 support ending October 14, upgrading to Windows 11 is the best way to stay secure and up to date. Whether through official tools or advanced workarounds, most users can make the switch without losing their files or apps.
Don’t wait until the last minute — check your PC compatibility today and move to Windows 11 to keep your system protected and future-ready.